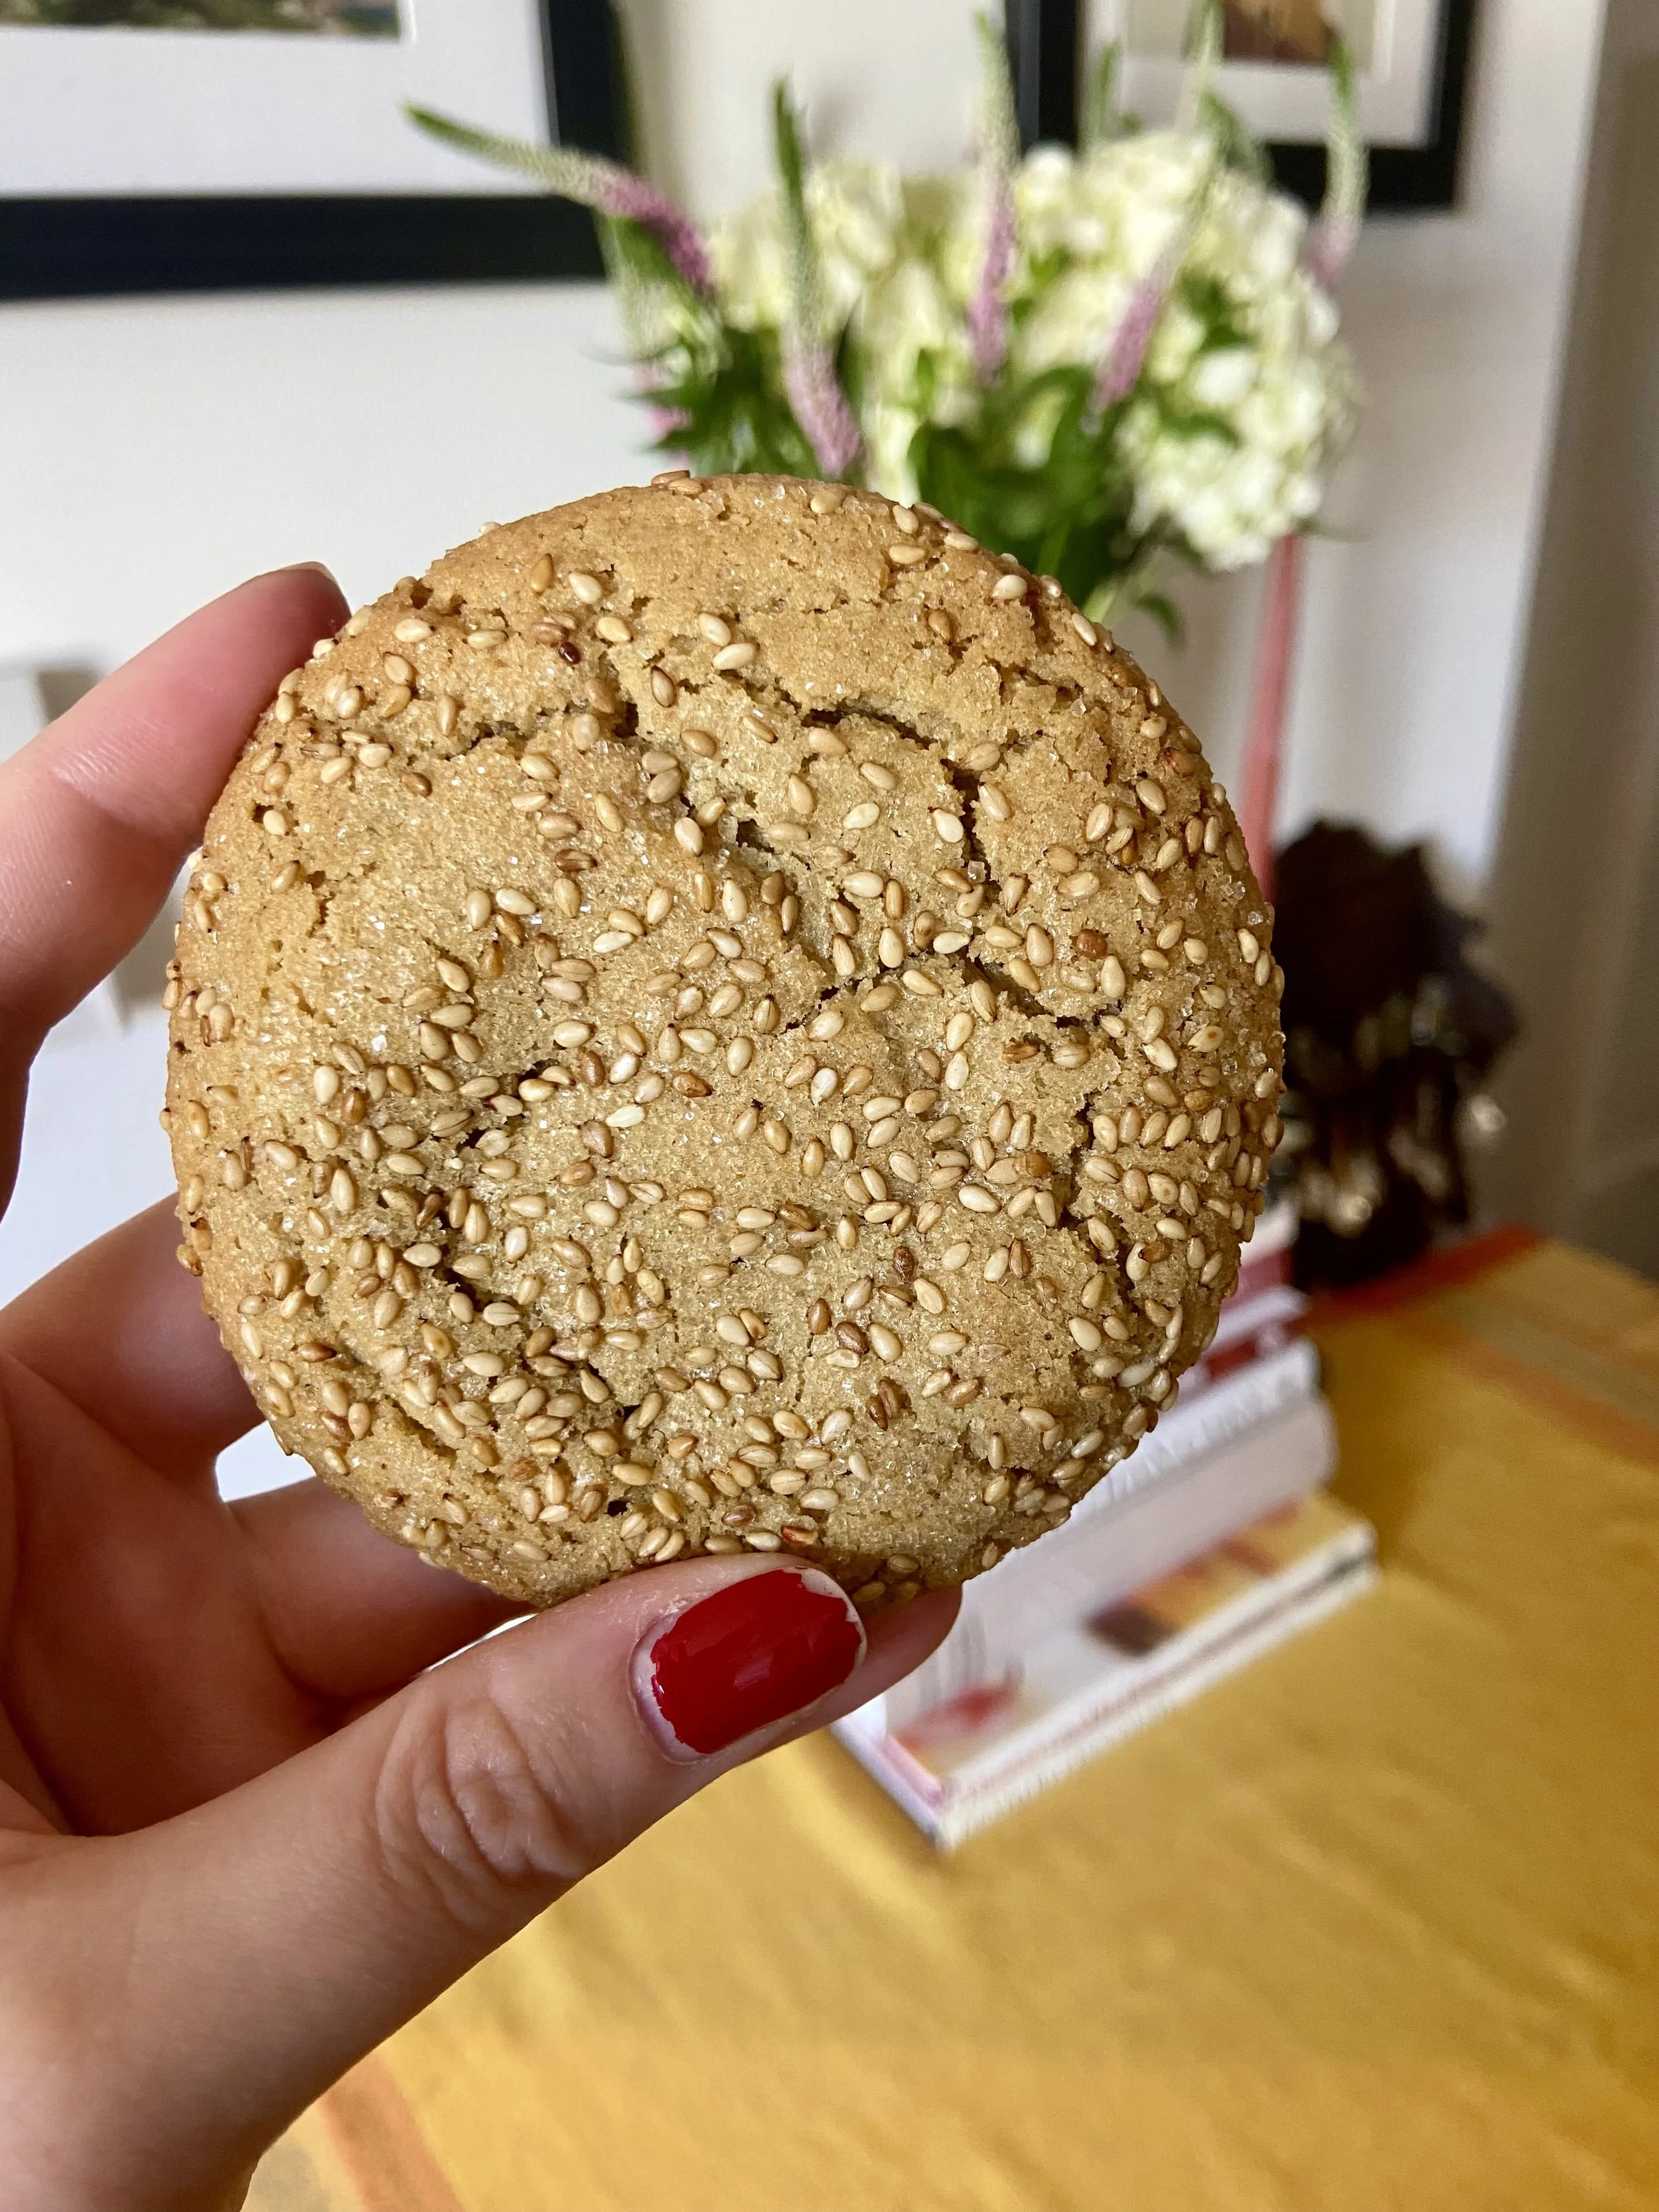
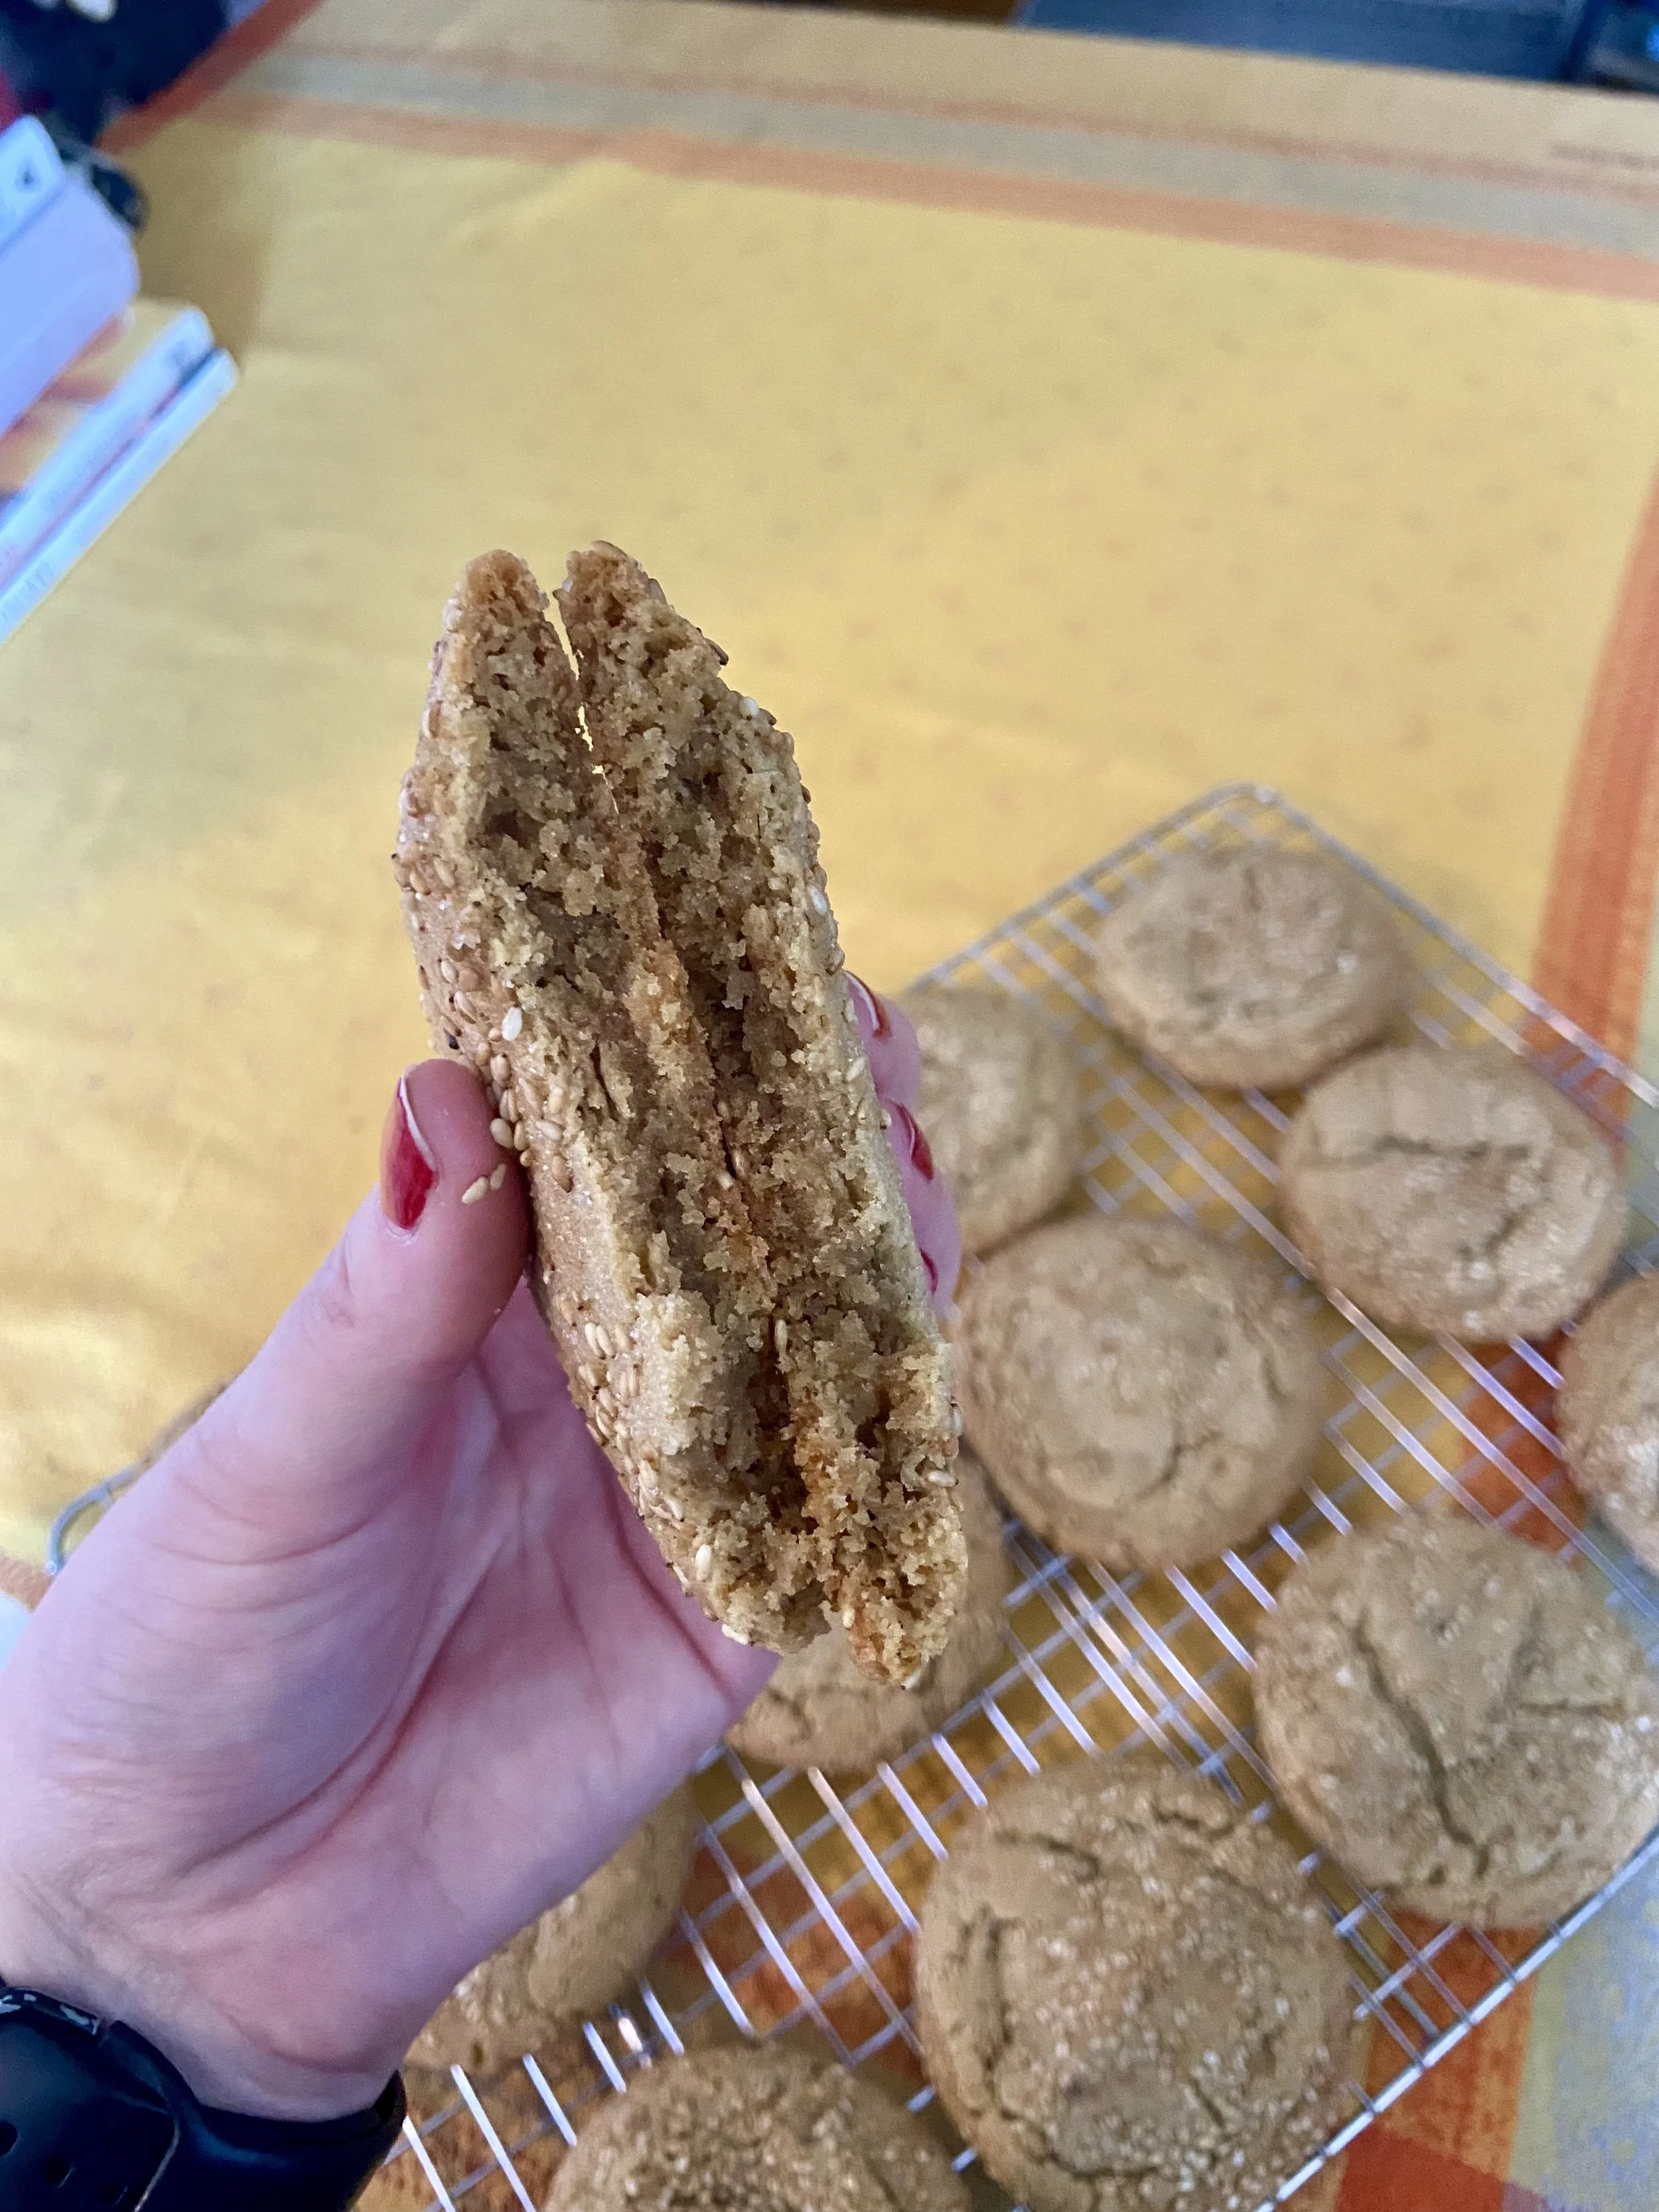
Chewy Tahini Cookie
Peanut butter cookies have always been one of my favorite cookies. They’re soft and chewy and nutty and toasty and sweet and I really didn’t think they could get even better. That is until these cookies came into my life.
Yes, I know, these are not peanut butter cookies, but think of these as reimagined peanut butter cookies. Peanut butter cookies reimagined in a world where we have access to ingredients from all over the world. Tahini is a paste made from ground sesame seeds and is a staple condiment in Middle Eastern cooking. In the US, you usually see tahini in the context of savory dishes such a hummus, baba ghanoush, or falafel. But more and more it is being used in the same vein as other seed and nut butters (peanut, almond, sunflower, etc) in the baking world. Much like those other nuts and seeds, tahini’s rich, nutty flavor lends itself so beautifully to baked goods.
Unlike most cookie recipes, this one does not require you to cream your butter and sugar, as the butter is browned and then added to the sugar while still liquid. I’m a big fan of this method for two reasons. First, I hate waiting for butter to come to room temp when I decide on a whim that I want to make cookies. Second, I love how the brown butter doubles down on the roasty, toasty, nutty flavor of the tahini. Truly a win-win.
Makes 12 cookies
Active time: 20 minutes
Total time: 35 minutes up to 1 day + 35 minutes
Ingredients
10 tablespoons (142g) unsalted butter, divided
1 1/4 cup (175g) all purpose flour
3/4 teaspoon baking soda
1 teaspoon kosher salt
3/4 cup (150g) brown sugar
2 tablespoons (35g) granulated sugar
1 large egg
1 large egg yolk
2 teaspoons vanilla extract or pasta
1/2 cup (125g) tahini
2 tablespoons granulated sugar
3 tablespoons white sesame seeds, untoasted or toasted
1/4 teaspoon kosher salt
Method
Preheat oven to 375F and line 2 half (18x13”) sheet pans with parchment or a silicon mat.
Brown 8 tbsp (113g, one stick) butter in a small saucepan over medium-low heat. Don’t stray too far, it will seem slow going at first, but once its starts to brown, things move very fast (see notes below).
Stir frequently and once the milk solids are golden brown, remove from heat, and pour in the bowl of an electric mixer (if using) or a medium sized bowl. Add the remaining 2 tbsp (29g) butter and stir until melted and combined. Let sit for a few minutes while you gather the remaining ingredients.
In a separate bowl, combine the dry ingredients – 1 ¼ cup (175g) flour, ¾ tsp baking soda, 1 teaspoon kosher salt – and whisk. Set aside.
Add the ¾ cup (150g) brown sugar and 2 tbsp (35g) granulated sugar to the butter. If using a stand mixer, mix with a paddle attachment on low until combined. Combine with a whisk if mixing by hand.
Add the 1 egg and 1 egg yolk one at a time while the mixer is on low. Add 2 tsp vanilla. Allow to mix for about 1 minute, until mixture lightens slightly. Alternatively, mix with a whisk by hand.
Add the ½ cup (125g) tahini on low until combined.
Add the reserved dry ingredients all at once and mix until just combined. If doing by hand, switch to a spatula for this step.
Dough can be scooped and baked immediately for a thinner, crisp chewy cookie. Or it can be refrigerated for a minimum of 1 hour and up to 24 hours for a slightly thicker, soft chewy cookie (see note below). If you chill the dough, let it sit out at room temp for about 2o minutes before trying to scoop.
When ready to bake, combine the 2 tbsp granulated sugar, 3 tbsp sesame seeds, and ¼ tsp kosher salt in a small bowl. Scoop dough with a 3-tablespoon scoop, roll in sesame sugar mixture, and place 2” apart on baking sheet. No need to flatten cookies prior to baking.
Bake cookies for 10-12 minutes, until edges are golden and set and center is still soft. Rotate baking sheets halfway through baking.
Allow to cool on sheets for about 5 minutes, then transfer to a cooling rack.
Store in an airtight container at room temperature up to 3 days.
Additional Notes
Brown butter! Who knew butter could get even better? The process of making brown butter can seem intimidating because much like caramel, you can go from beautifully golden brown to burned in a matter of seconds. But fear not, the process couldn’t be simpler. If you keep your heat at medium-low, it will take up to 10 minutes or so. But try to not get too distracted during those 10 minutes. Keep your eye on them by stirring often, making sure to scrap the bottom of the pot, and pay attention to the bubbling noise. At first, the butter will bubble very loudly, with occasional loud pops. As more of the water is evaporated and the milk solids start to toast, the bubbles will get much smaller and quieter. When that happens, make sure you are tending to the pot and ready to remove it from the heat once it reaches the right color.
I know, the thought of making cookie dough and then having to let it chill is sometimes too much to take. Which is why I fully condone scooping and baking right away. BUT, if you allow your dough to chill, I promise you will be rewarded for your sacrifice. And the longer you wait, the better the payoff. My boyfriend even thought that a cookie chilled 24hrs and then baked was from a different batch than the ones I had baked the previous day and only chilled 1hr (they were not). His exact words “woah these are even better than that last batch.” Better yet, make yourself a double batch, bake half now and scoop and freeze the second half for your future self. Simply scoop, place on a sheet tray or plate or whatever flat surface will fit in your freezer and freeze until solid. Once solid, move to a plastic bag. When you are ready to bake, your pre-scooped dough can be tossed in the sesame sugar and bake from frozen. Just add an extra minute or two to the bake time.
I know some cookie recipes instruct you to flatten your scoop dough before baking. This is to encourage an even spread in the cookies. In this case, there is no need to do that! If you’re hanging around the oven and peak in with just a few minutes left and notice they still look like melting balls of dough, do not fear, you haven’t done anything wrong. They just like to take their time, but in the end they will spread evenly.
In testing this recipe, I used Soom tahini and Whole Foods brand tahini, both which worked nicely without any noticeable differences. I would recommend whichever tahini brand you prefer and always remember to give it a good stir beforehand! Tahini likes to separate if it’s been sitting a while.
While I cannot 100% vouch for the success of swapping the tahini for other nut butters, I absolutely support the decision to give it a try. In theory it should work! Just keep in mind that different nut butters/spreads have different consistency that might impact the final texture. Tahini tends to be on the thinner/looser side, which peanut butter is thicker. This just might lead to a cookie that is a bit denser. Not that that’s a bad thing.

