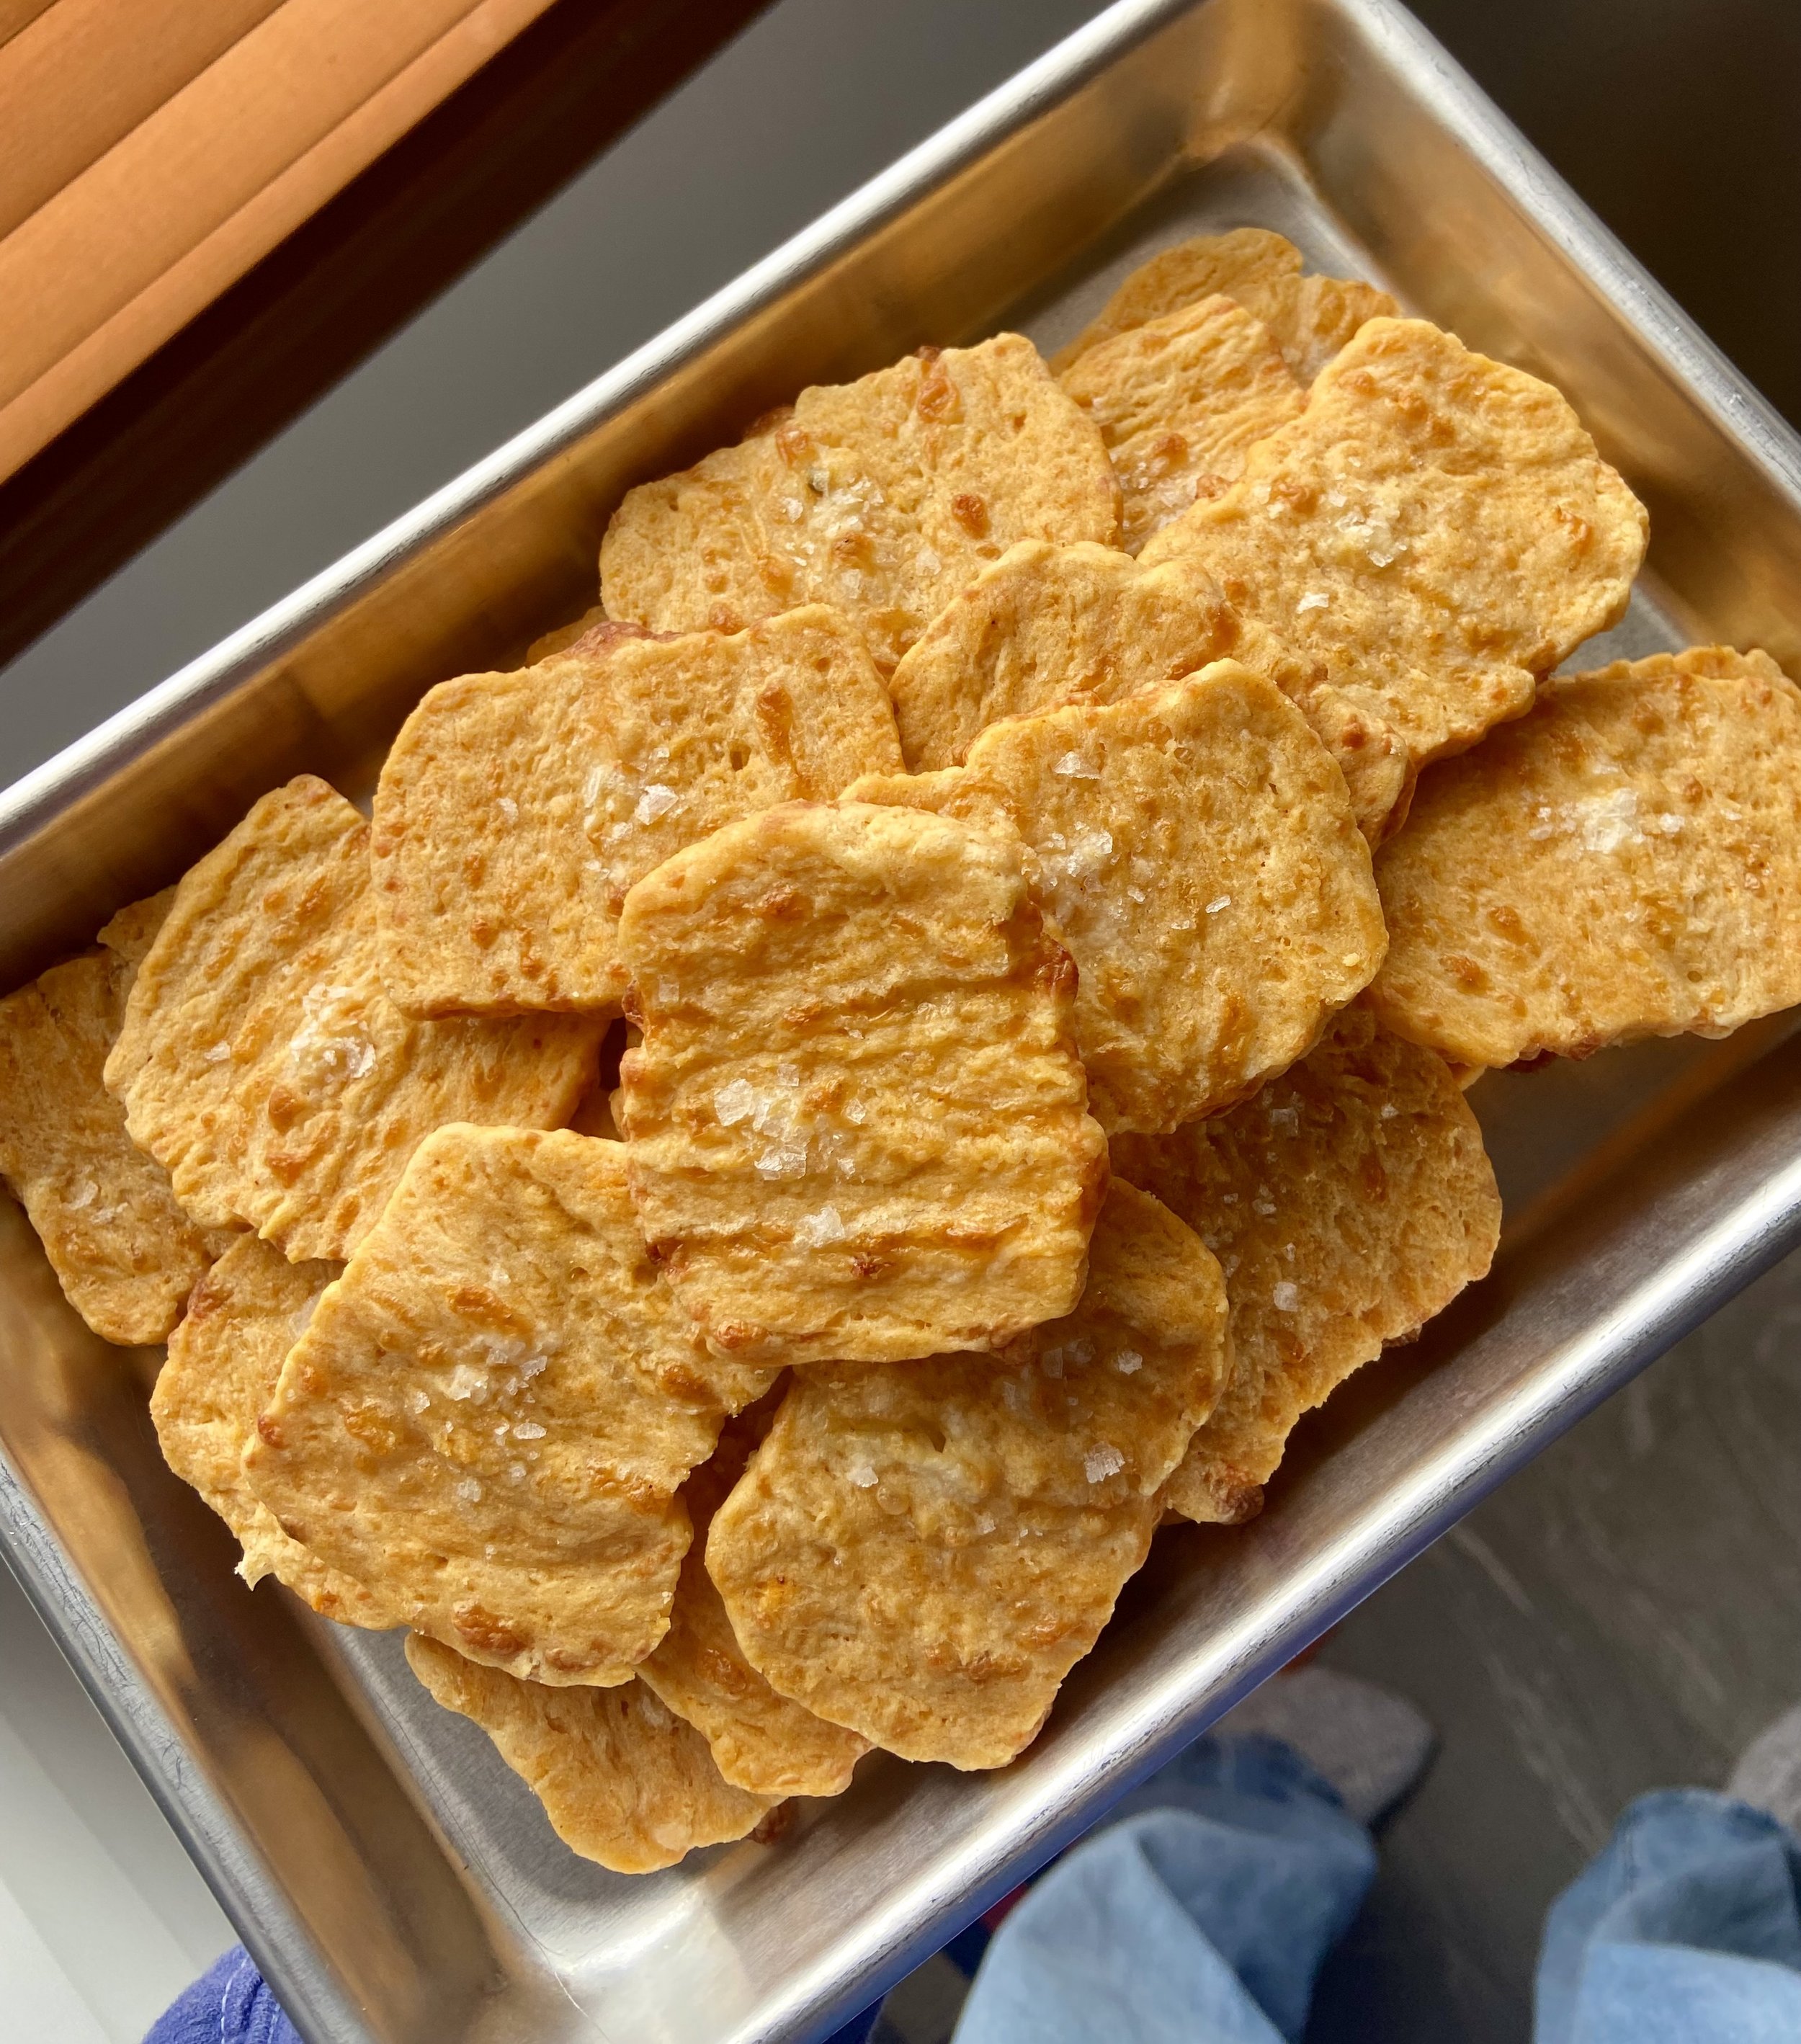
Cheesy Shortbread Crackers
Could you just pop over to the grocery store and buy pretty much any kind of cracker you might want? Sure! But where’s the fun in that?
While I do buy, rather than make, most of the crackers I consume, there is something really appealing to me about making a batch at home instead. And after giving some thought as to why I find myself wanting to bake crackers, I realized that crackers are essentially the savory baking version of a cookie. Much like a typical cookie, they are relatively low effort, they don’t require too many crazy ingredients, they come together rather quickly, and they are made in small, easily snackable sizes.
Although I don’t do much baking that is purely for the fun of it, I do sometimes want to scratch that “baking for fun” itch, without having to do a million steps and wash a million dishes. That’s when I usually reach for a simple and quick cookie recipe that will give me nearly instant gratification. But as someone who bakes (predominantly sweet) treats all the time, sometimes I don’t want anything sweet and sugary and need something salty. And that’s where crackers, such as these, come in. They dirty very few dishes and use mostly pantry ingredients - the type of cheese and spice listed can easily be swapped out for what you have on hand or prefer. I would just recommend sticking with another semi-hard melting cheese, rather than something like parmesan, only because I cannot guarantee that will work out (but if you try it and it does, maybe let me know?!).
I will say, these crackers become ever so slightly finicky with their mixing and assembly methods. The dough is similar to a pie dough or biscuit dough, but much more forgiving. The assembly involves stacking slabs of dough on top of each other with a bunch of cheese in between (similar to my pesto biscuit method), which creates lovely lamination and cheesiness that I promise is worth it!
Makes: 40 crackers
Active time: 15 minutes
Total time: 2 hours 45 minutes
Ingredients
113g (1 stick) unsalted butter, cold
204g (1 1/2 cups) all purpose flour
3/4 teaspoon baking powder
1/2 teaspoon kosher salt
1/2 teaspoon smoked paprika
105g (1 cup) pepper jack cheese, grated
60g (1/4 cup) water, ice cold
flaky salt, optional
Method
Grate 113g (1 stick) unsalted butter with the large holes on a box grater. If you only have a cheese grater with smaller holes, just cut into 1/2” cubes. Set the butter back in th frigde while you measure to the dry ingredients.
In a medium bowl, add 204g (1 1/2 cups) flour, 3/4 teaspoon baking powder, 1/2 teaspoon kosher salt, and 1/2 teaspoon smoked paprika. Whisk everything together and add the cold, grated butter and 1/4 of the grated cheese (about 26g).
Using your hands, mix the butter and cheese into the dry ingredients until both are well distributed. The mixture should be dry and crumbly, with noticeable shreds of butter and cheese. This process is very similar to making pie dough or biscuits.
Add in the 60g (1/4 cup) ice cold water and use a fork to toss it together. Once the dough starts to form, switch to your hands and knead until there are no more dry spots. The dough will be dry, as it will continue to hydrate and soften as we work with it. But if the dough is very dry, add another teaspoon or two of cold water.
Turn the dough out onto a lightly floured surface and form it (with your hands or a rolling pin) into a 4” x 8” rectangle. Cut the rectangle in half lengthwise to create 2 2” x 8” rectangles. Place 1/4 of the grated cheese on top of one of the rectangles, gently pressing it into the dough, and then stack the other rectangle on top. Roll the layered rectangles to 4” x 8” again and repeat the process of halving and adding the cheese 2 more times. If any cheese falls out during this process, just press it back into the dough as best you can, no need be perfect.
Once the final set of rectangles are stacked, you should have a rectangular cube that is about 2” x 8"'. Using your hands, press and shape the cube to 11” long, 1.5” wide, and 1.5” tall. I like to use my hands by pushing the sides of the cube in to elongate it and then pressing on the top to flatten, until I get to to about the necessary dimensions. At that point, I find it really helpful to use a bench scraper to square off the sides. Place the bench scraper directly against the side of the dough so it creates a 90 degree angle with the counter. Use your free hand to gently push the dough against the counter and the bench scraper. Rotate the dough until you have flattened each side.
Wrap the dough in plastic wrap and chill for a minimum of 2 hours. This gives the dough and cheese time to really adhere to each other, so it doesn’t crumble when you try to slice it. The dough will also keep its shape better if you cut it when it is very cold.
When you are ready to bake, preheat the oven to 350F and line a large sheet pan with parchment paper.
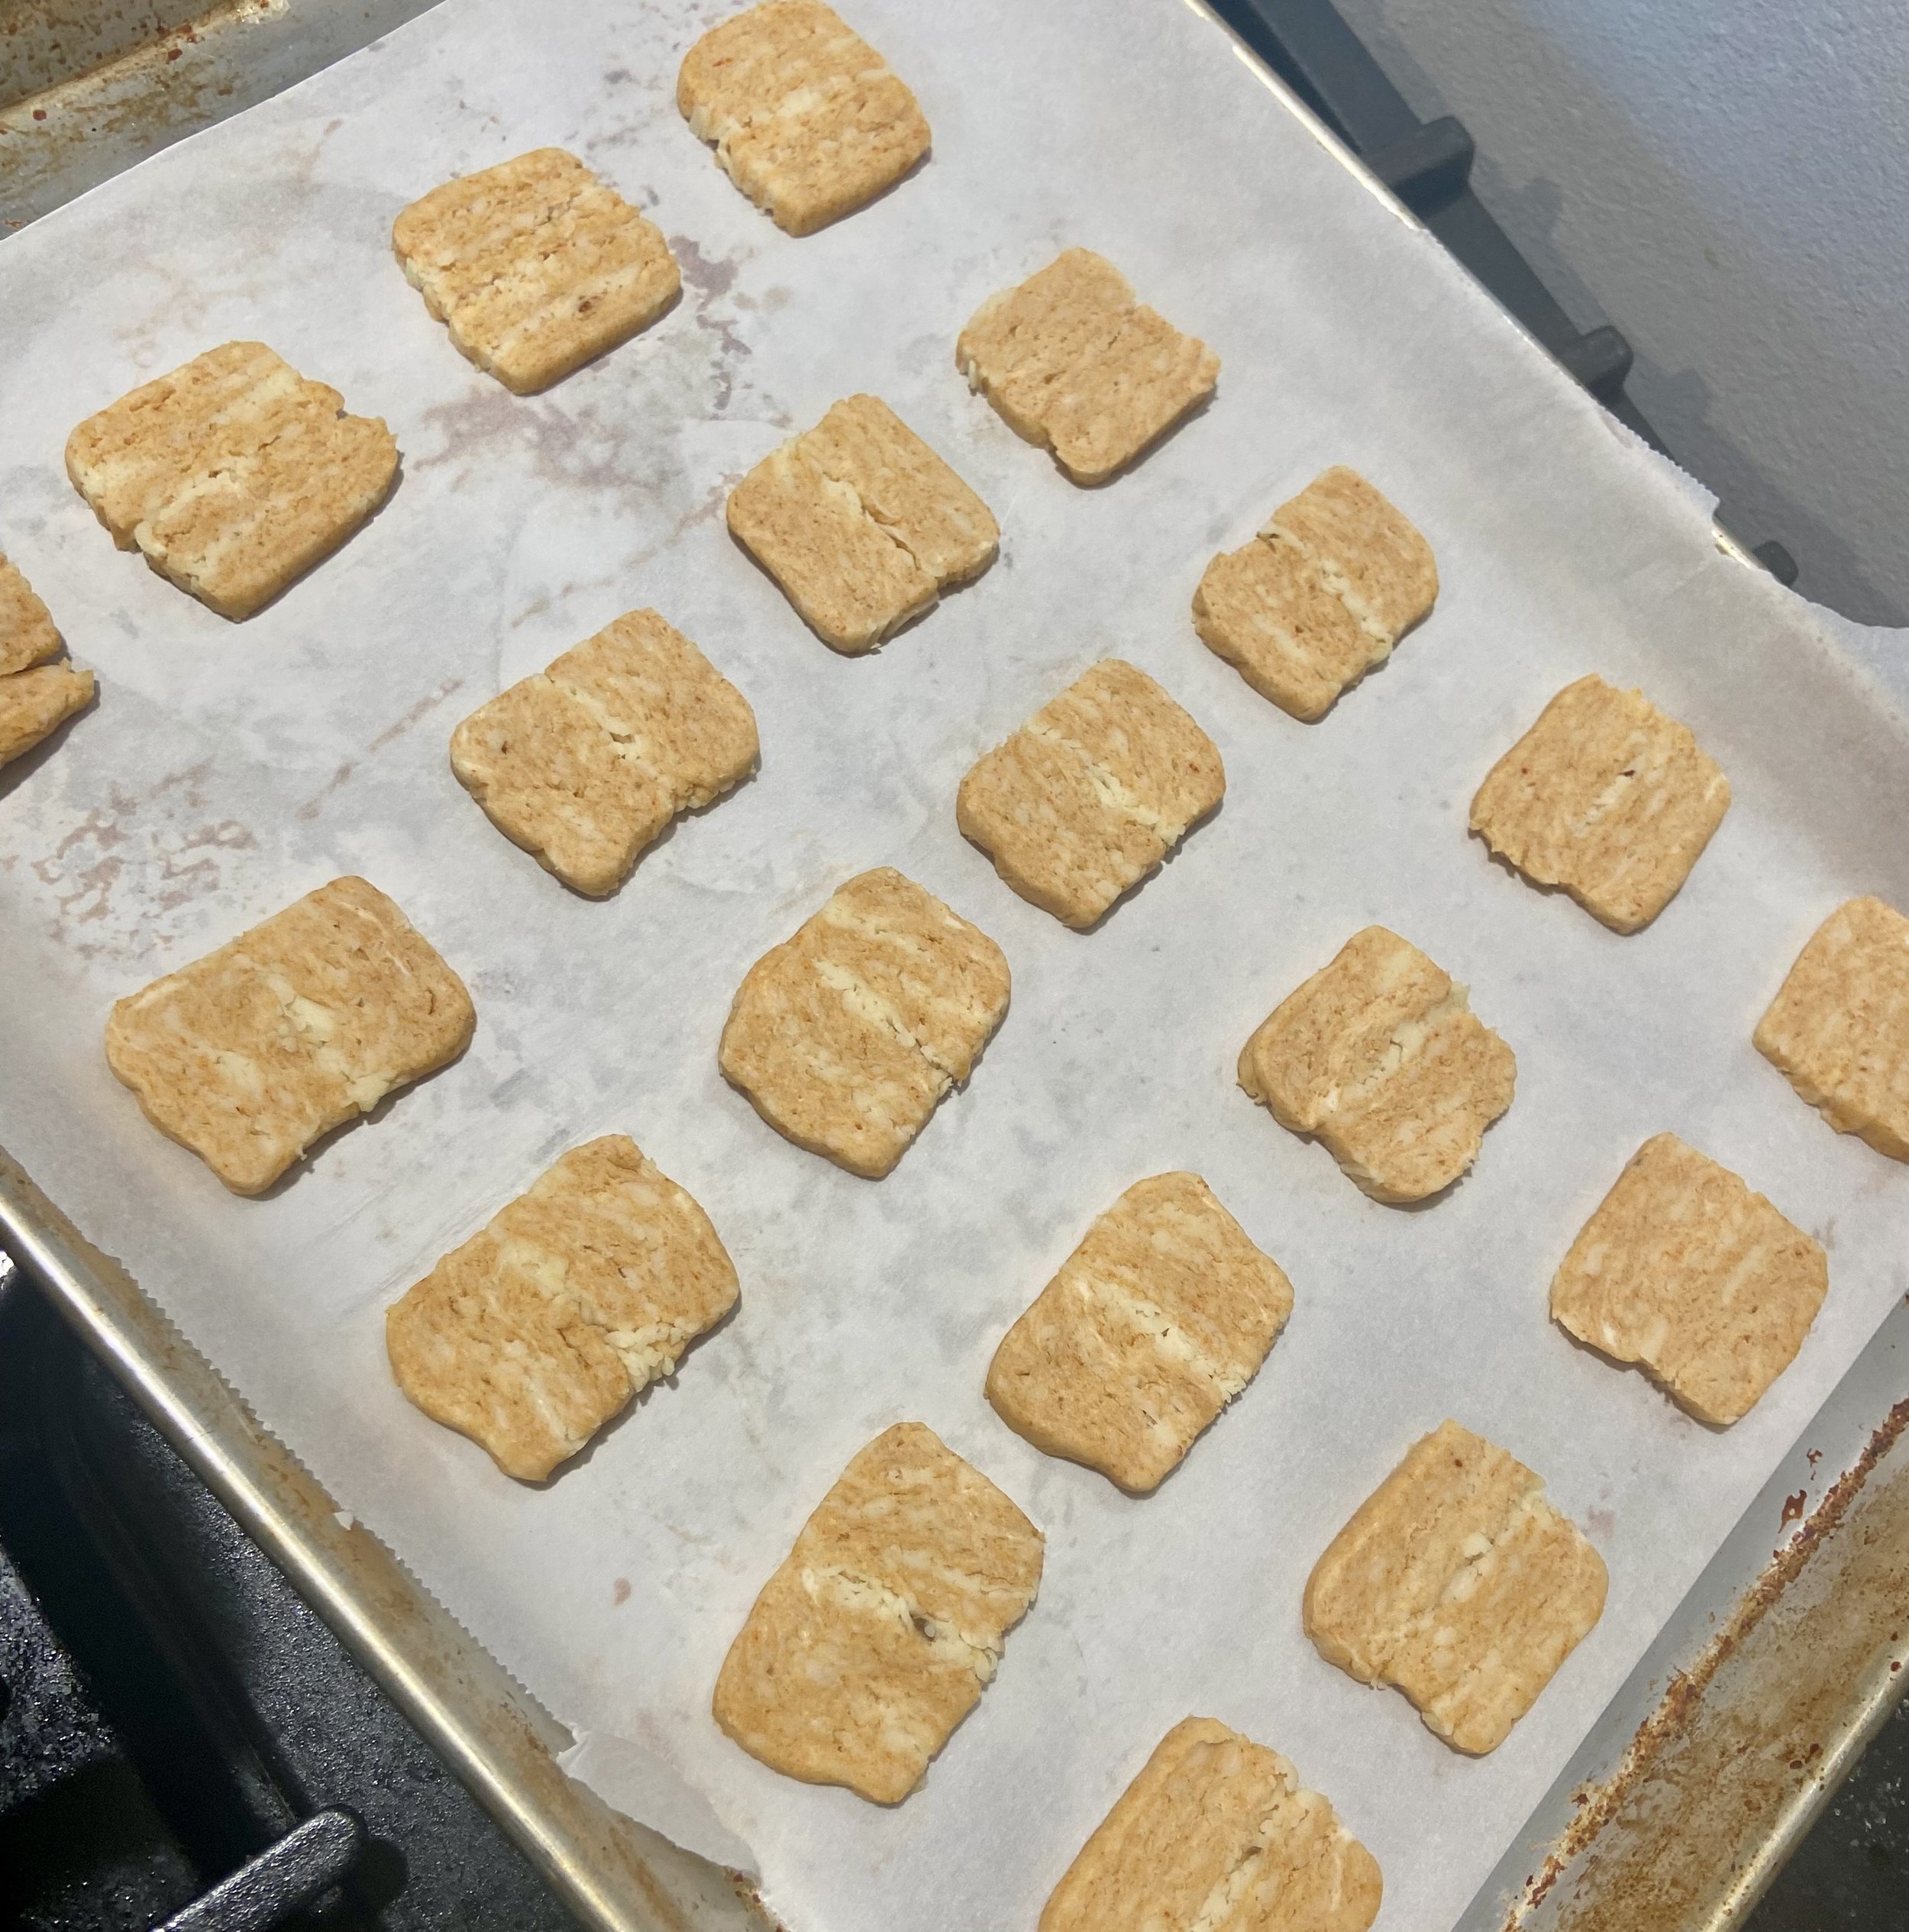
While the oven preheats, slice the chilled dough into 1/4” squares and place them flat on the prepared sheet pan. They can be placed quite close together (even closer than in the below picture, just not touching) as they won’t spread very much. Sprinkle the tops with some flaky salt, if so desired.
Bake the crackers for 30 minutes and allow to fully cool on the tray.
Baked crackers will last up to 5 days at room temperature in an airtight container. Unbaked dough will last in the fridge up to 3 days and 6 months in the freezer. If you choose to freeze the dough, move it to the fridge the night before you plan on baking so it has time to defrost but still remain cold.